


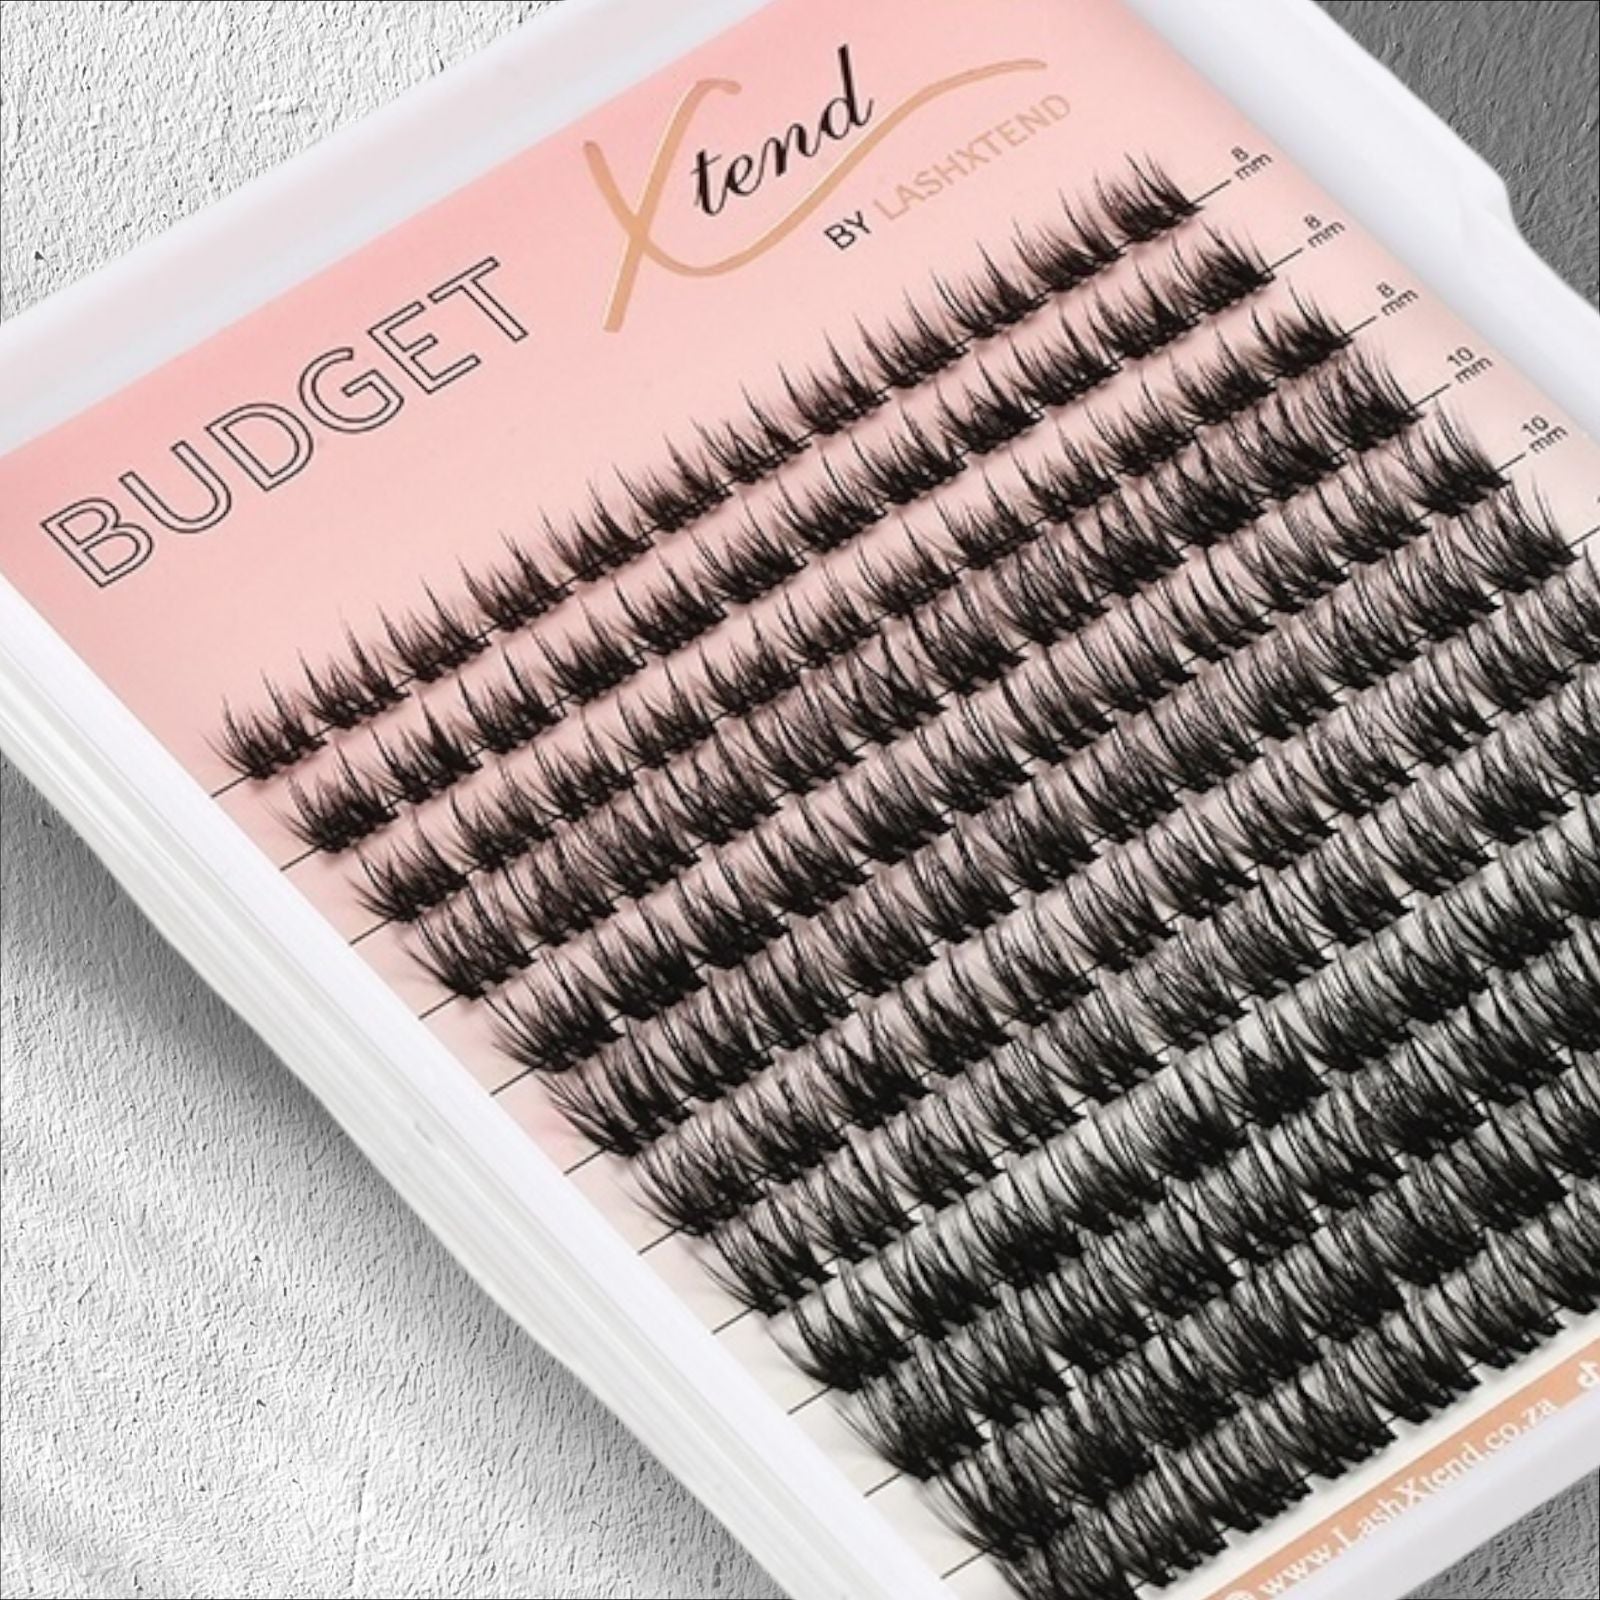
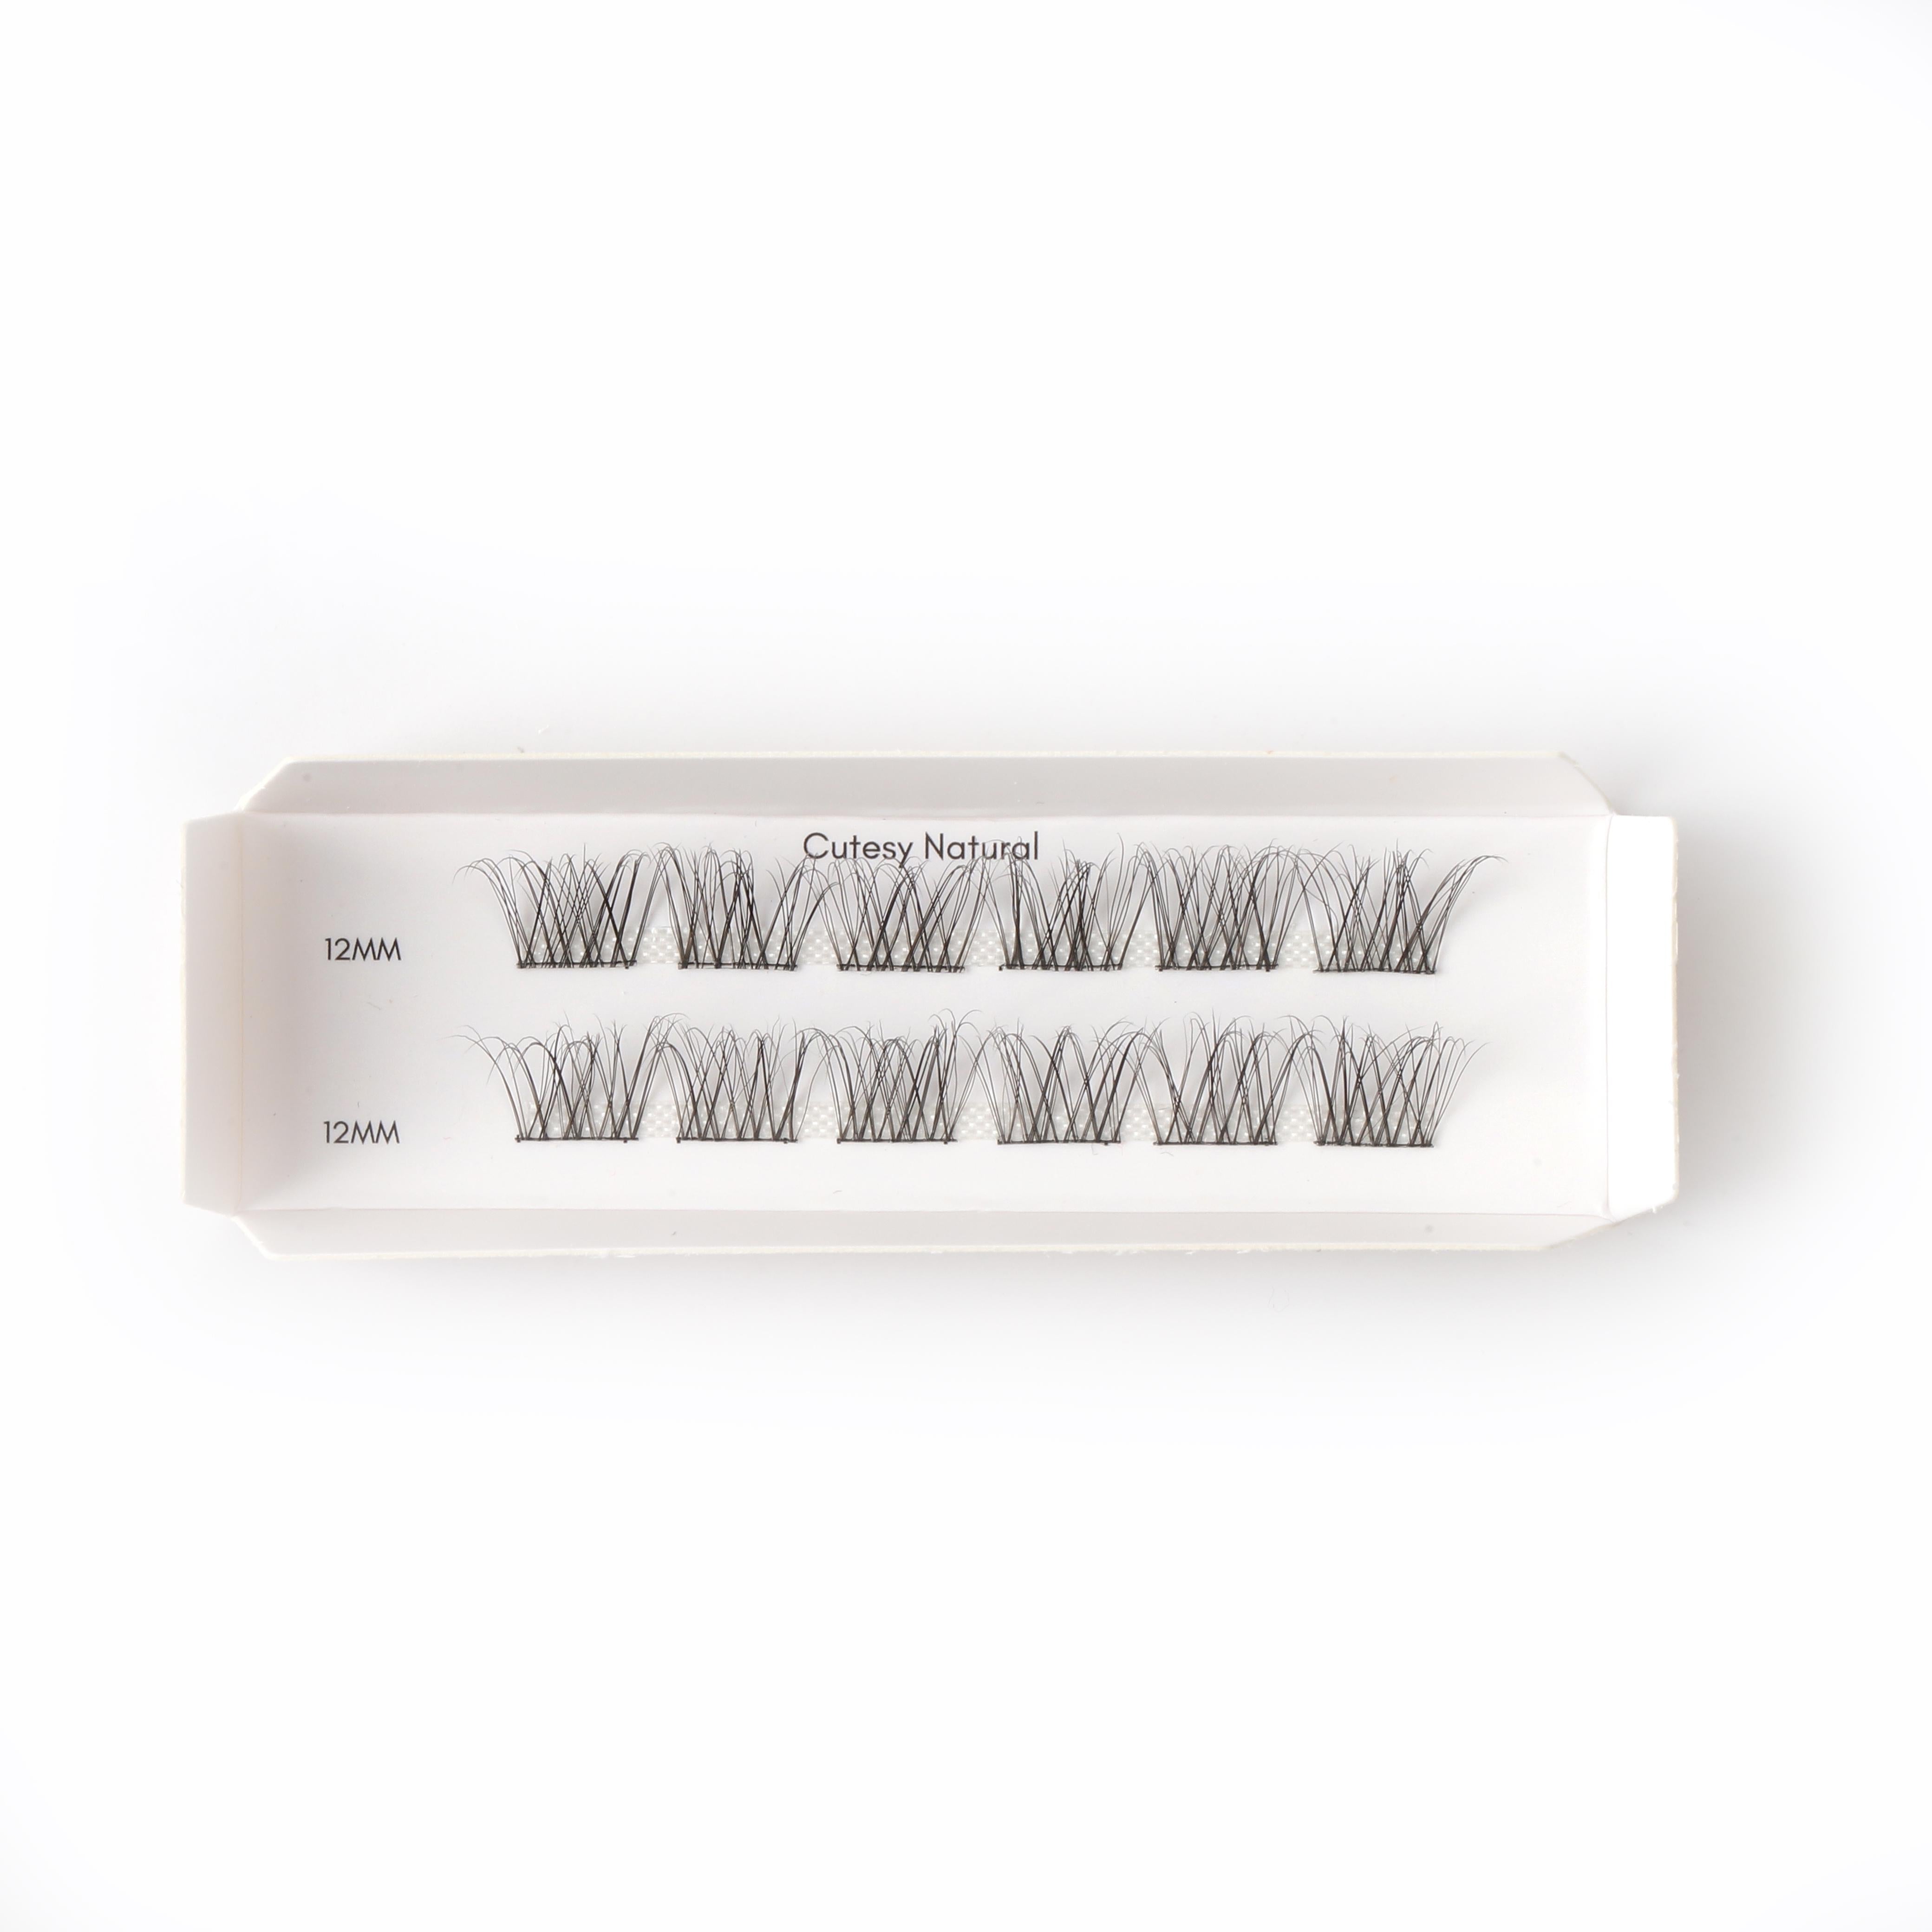
Explore Lashes
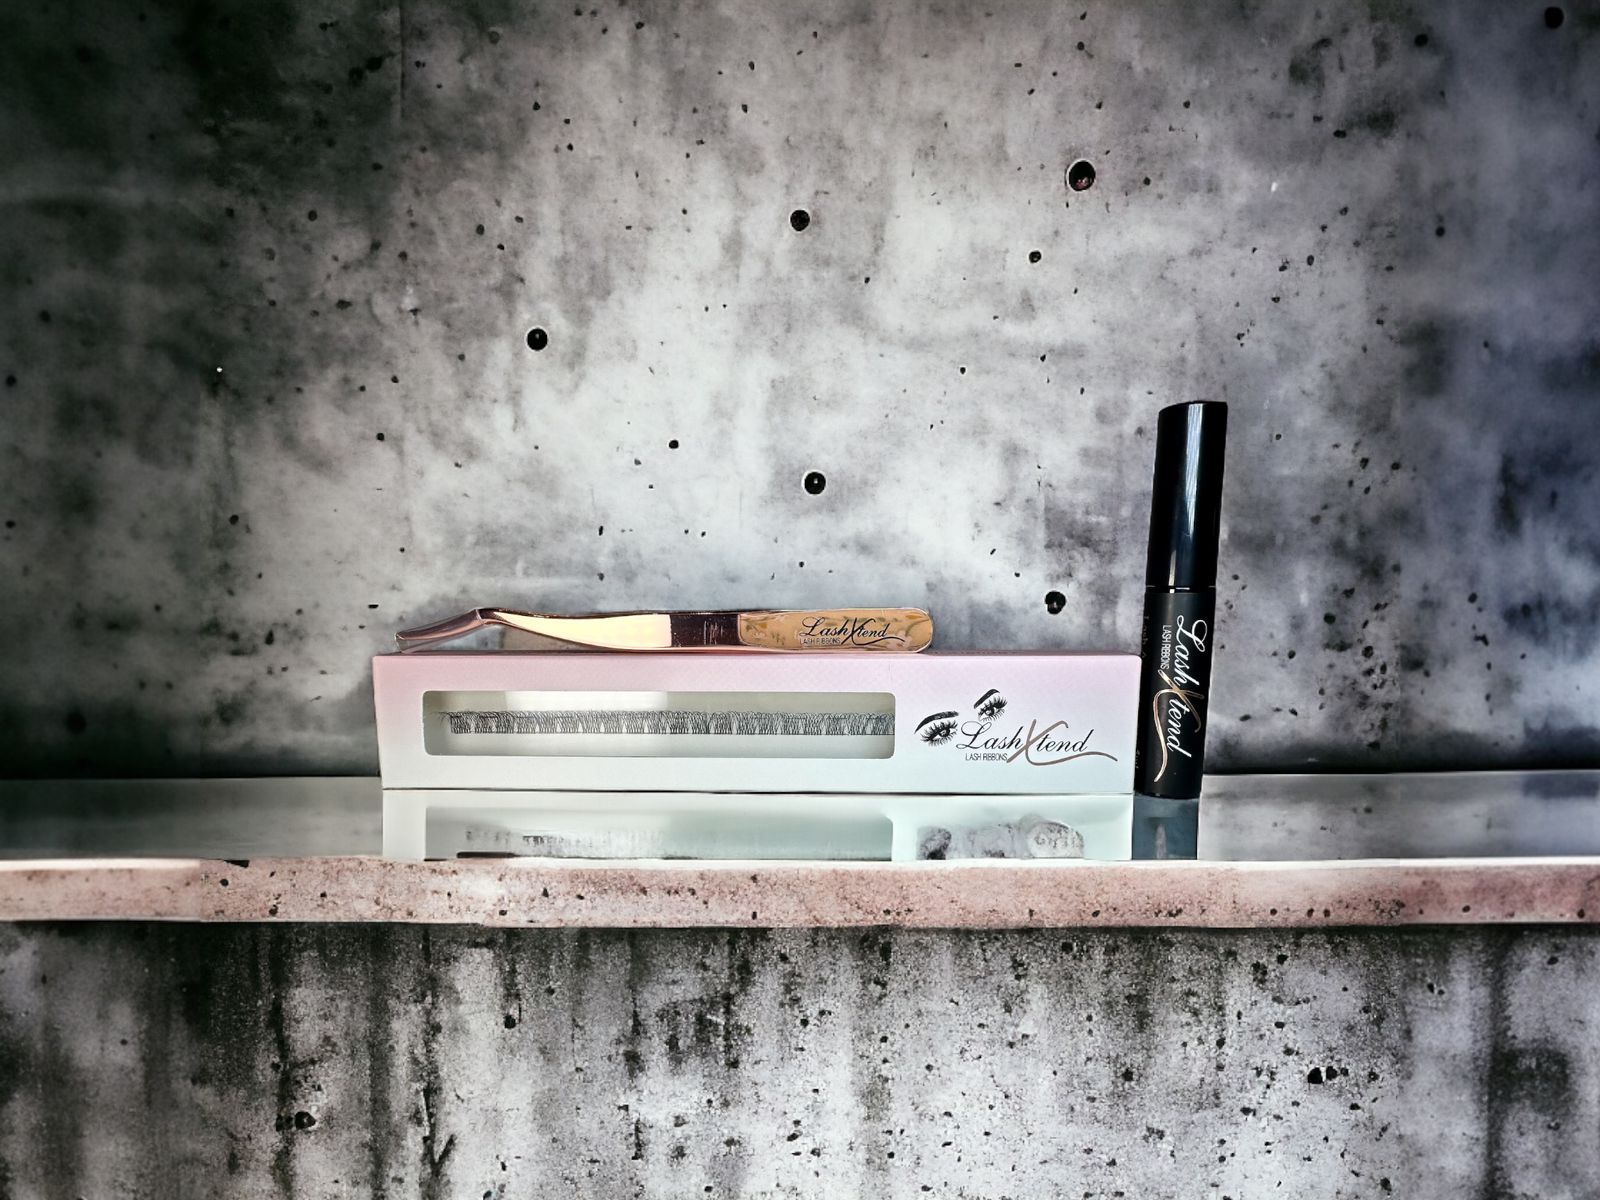
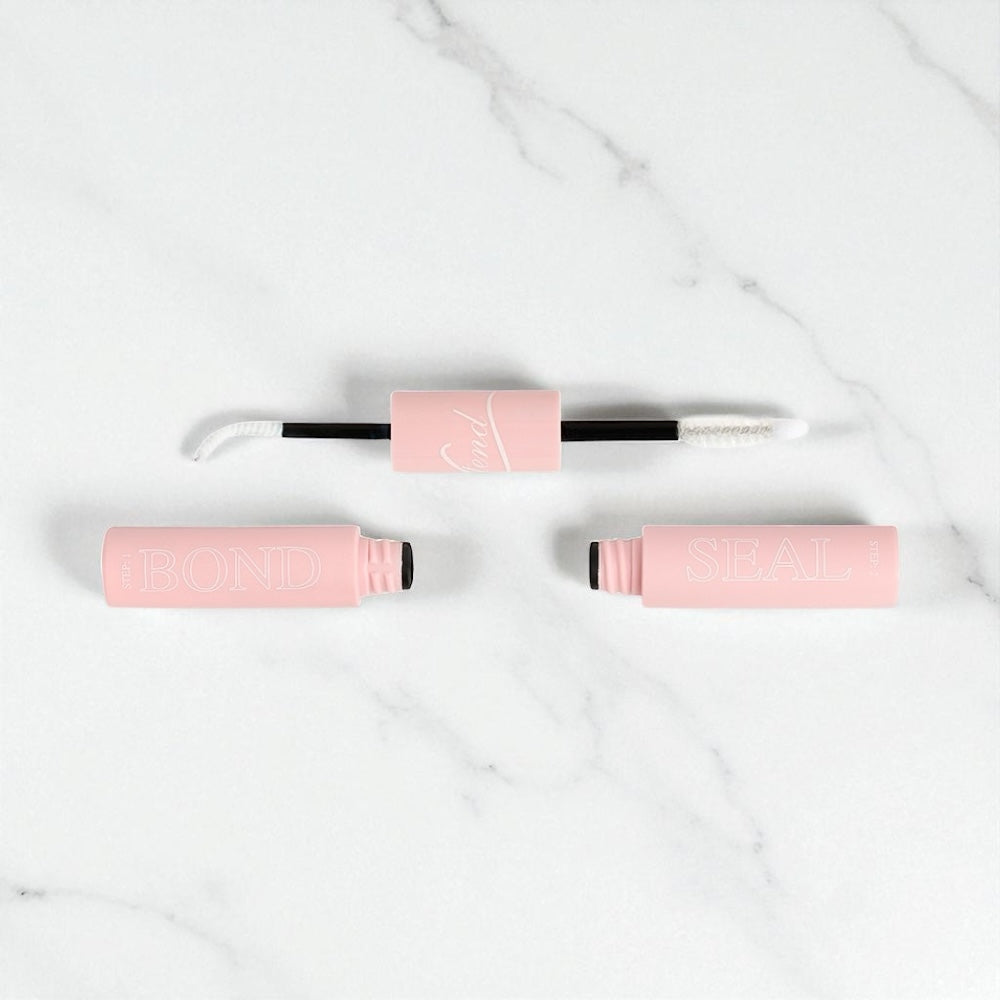
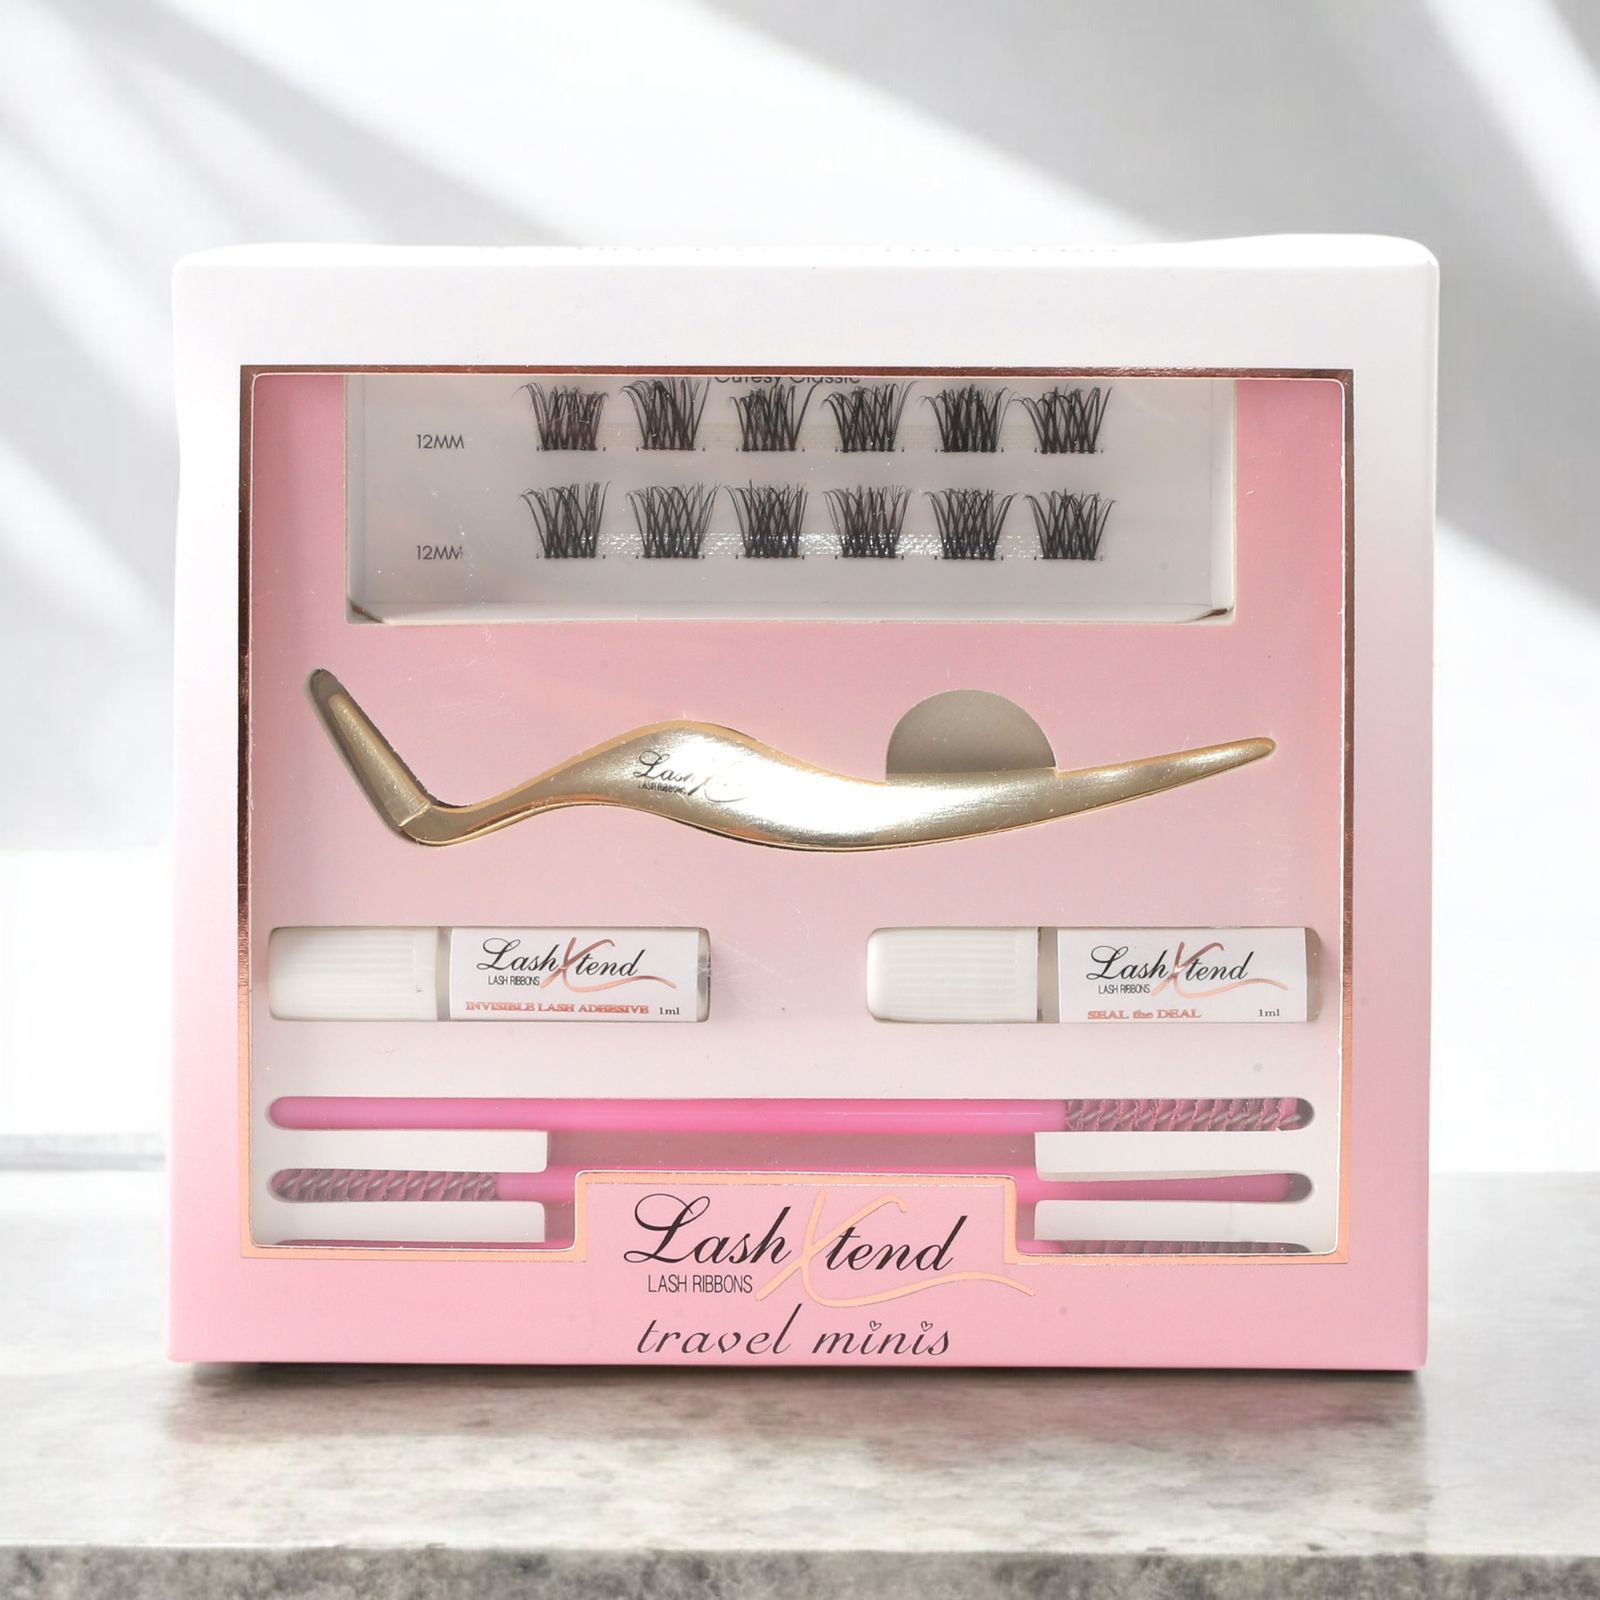
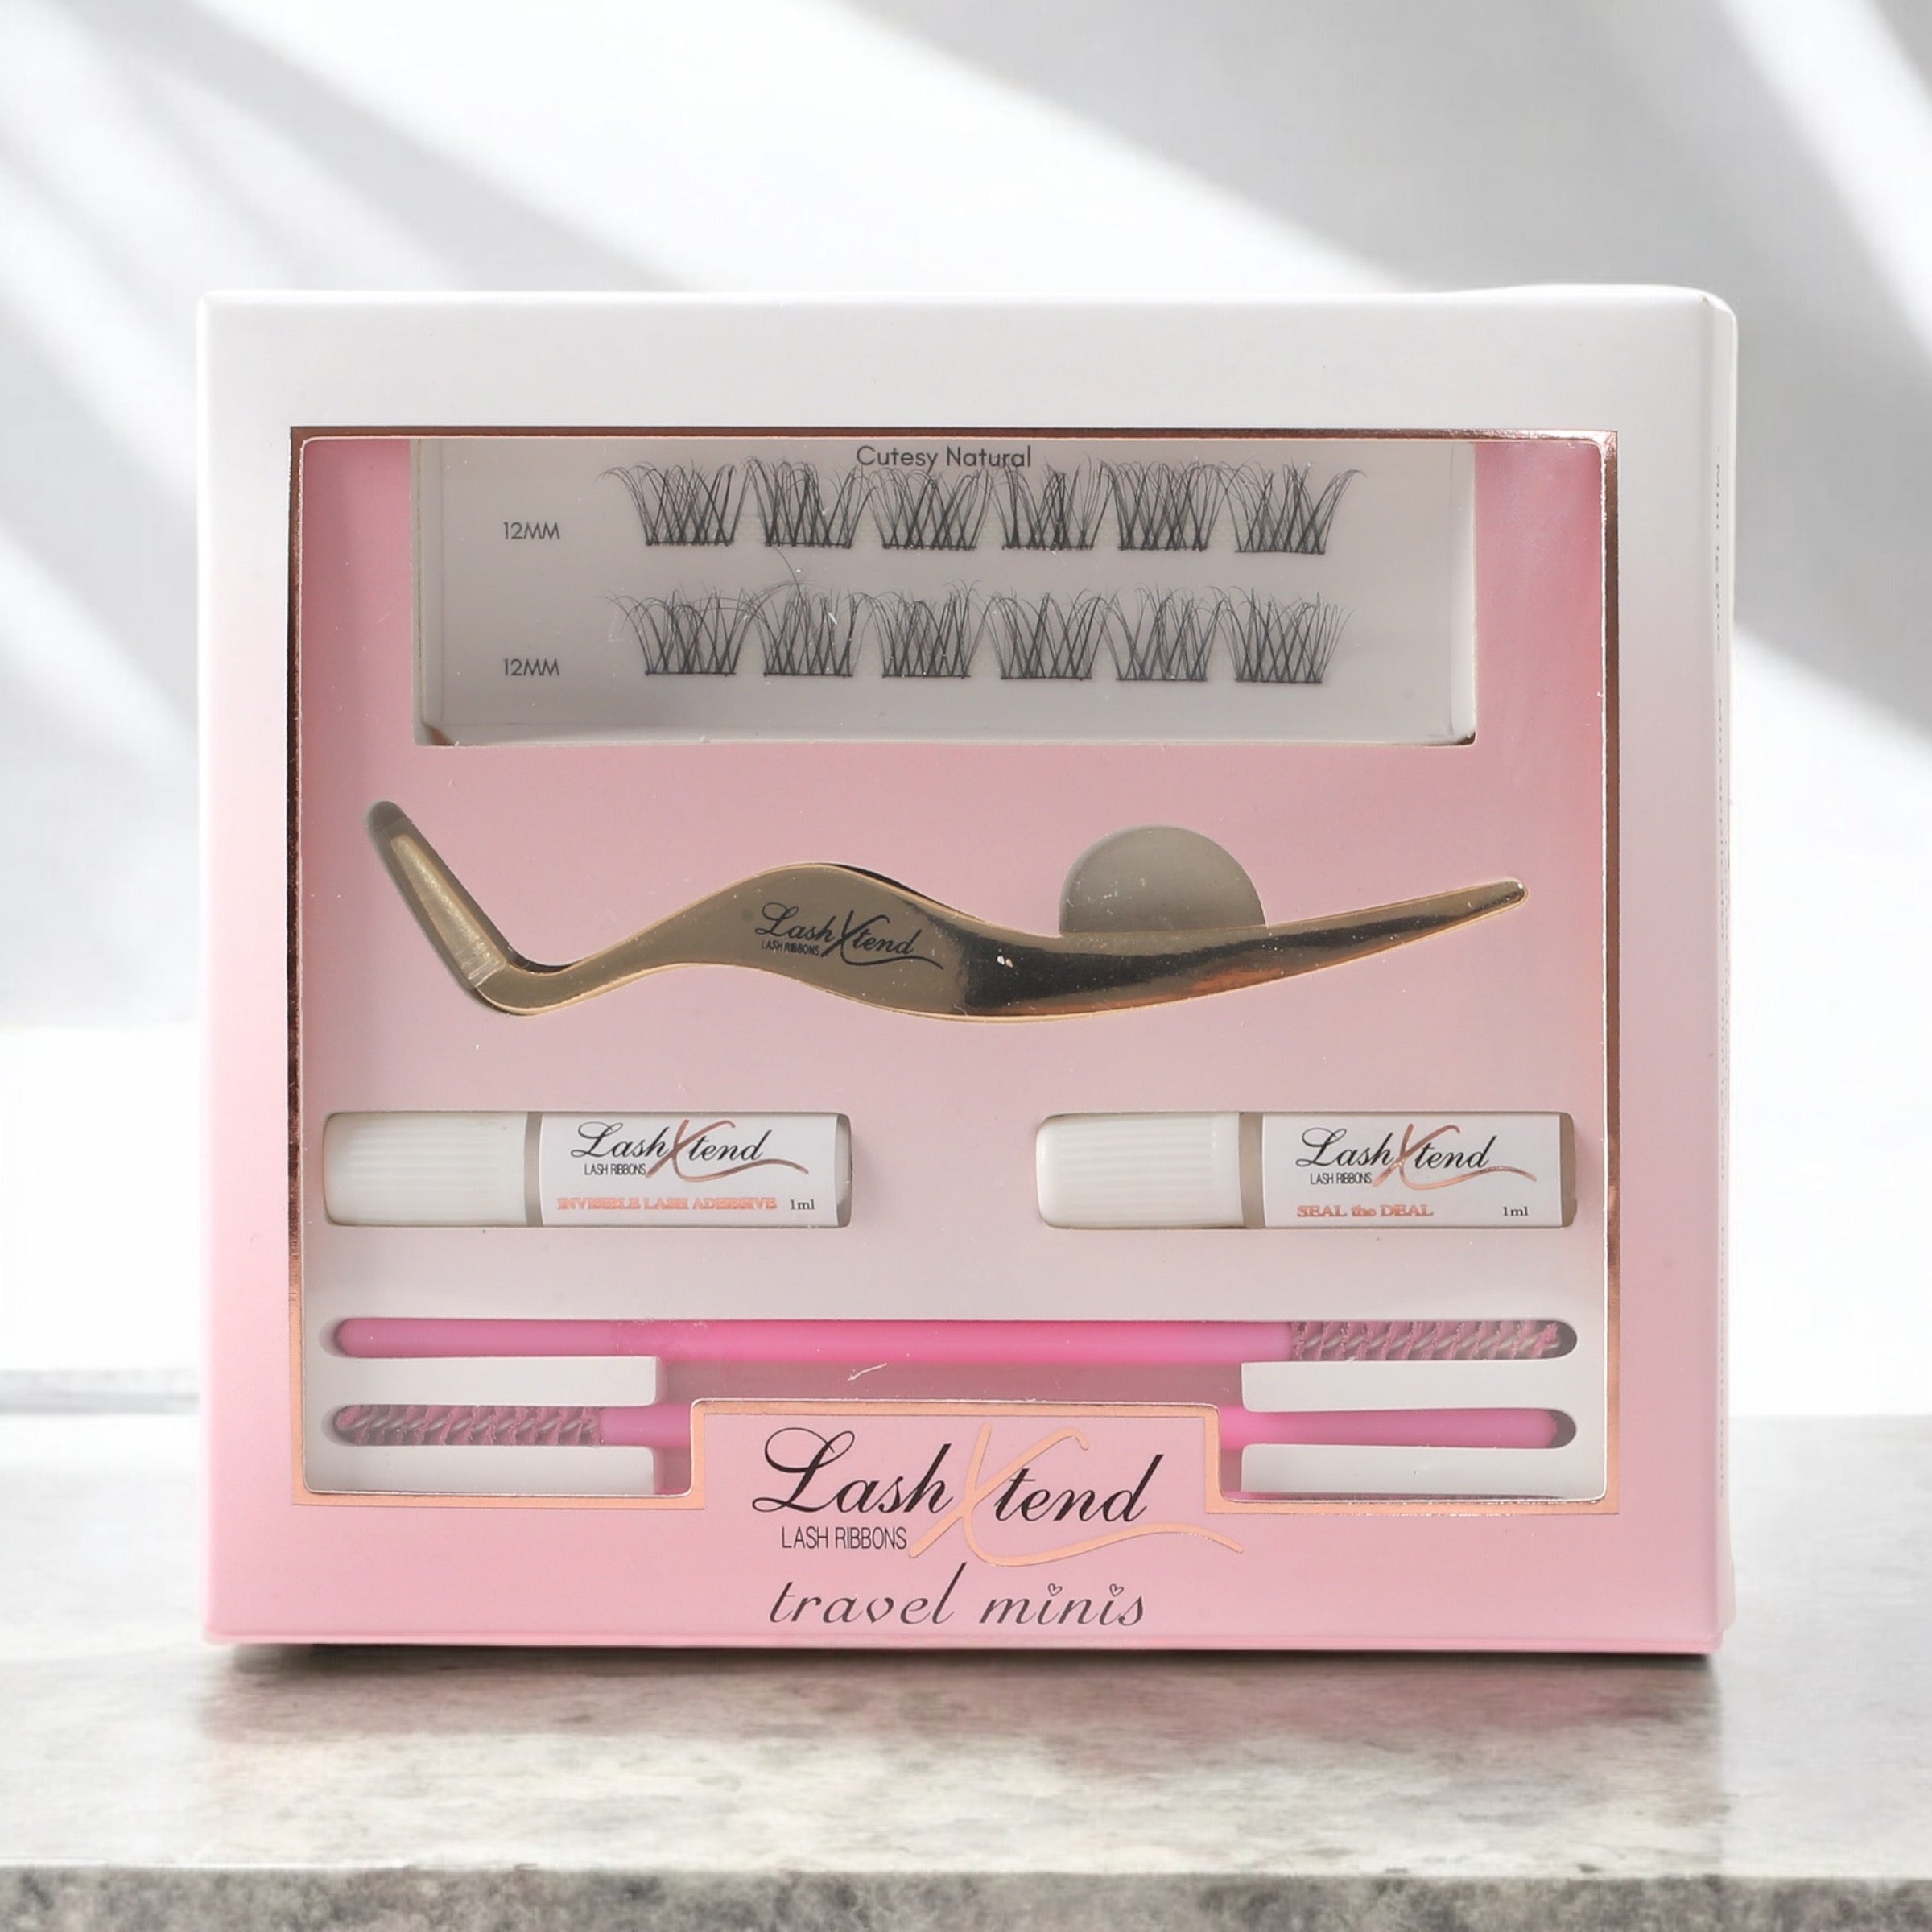
Introduction Starter - Lash Extension Kit
Sale priceR350.00Regular price
R450.00
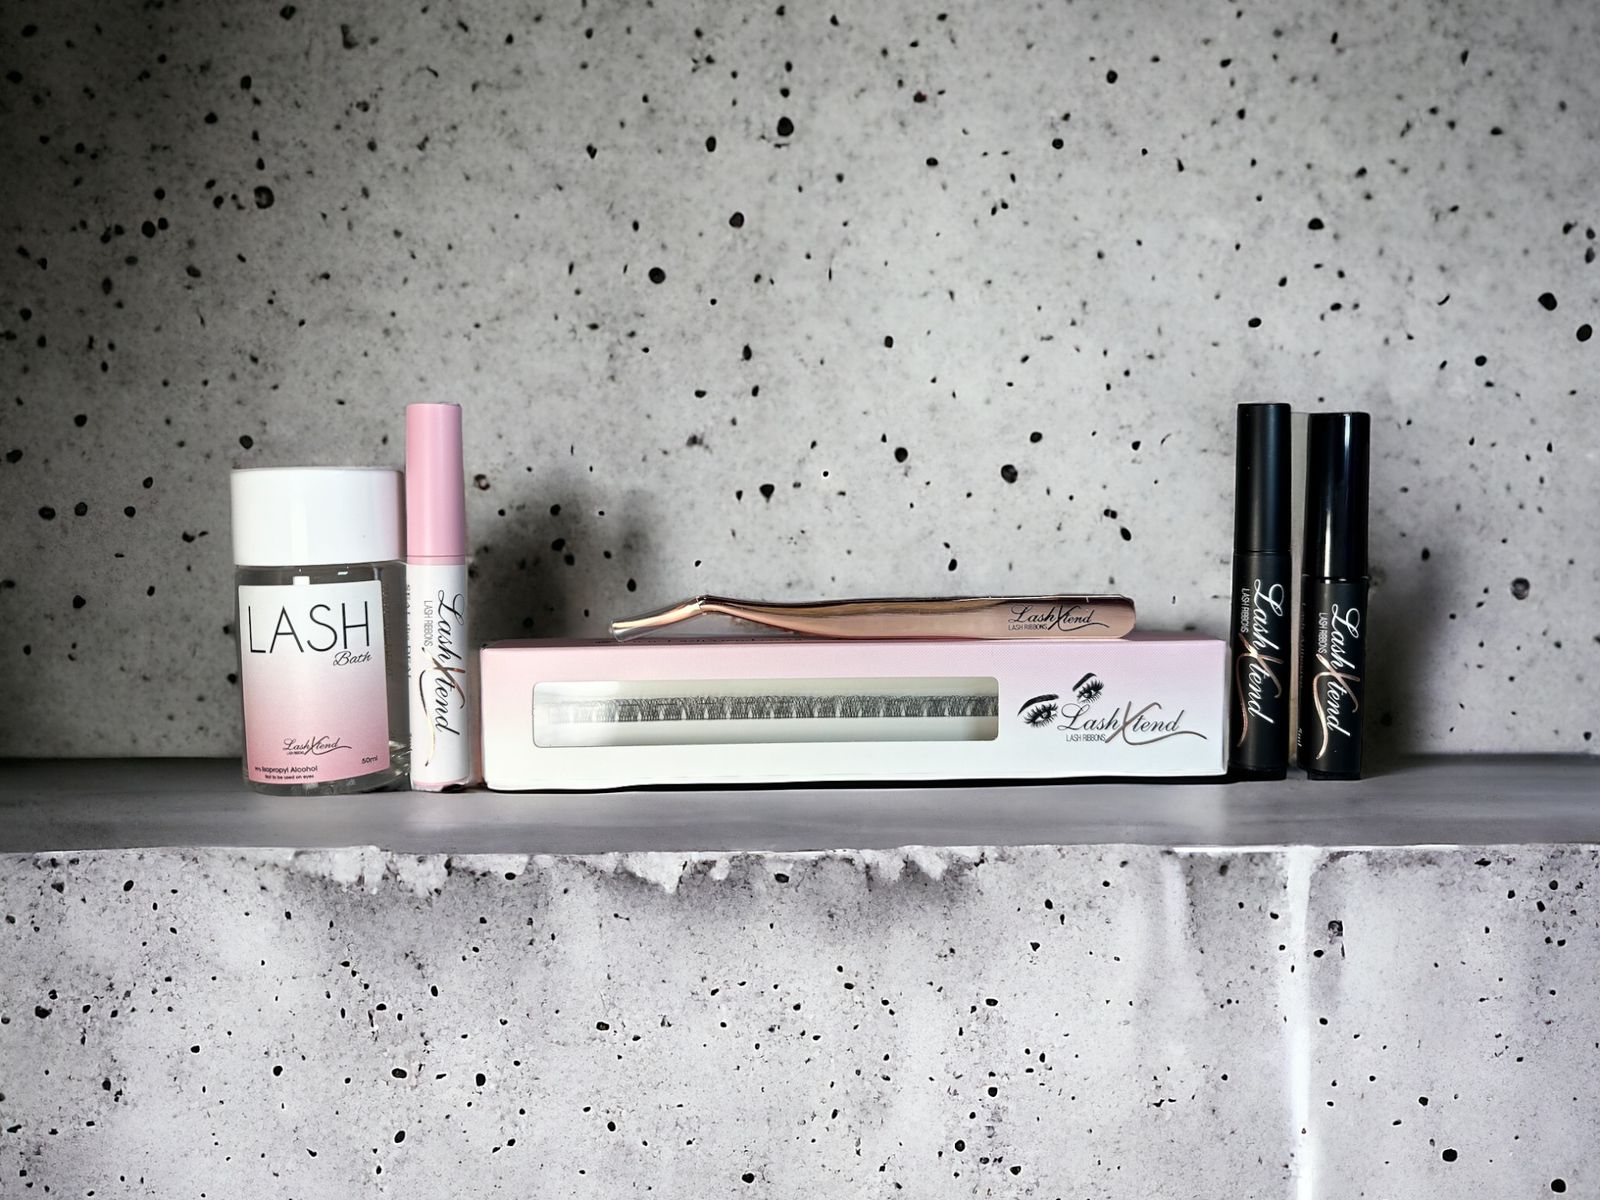
Lash Lover Starter kit - Lash Extension Kit
Sale priceR549.00Regular price
R670.00
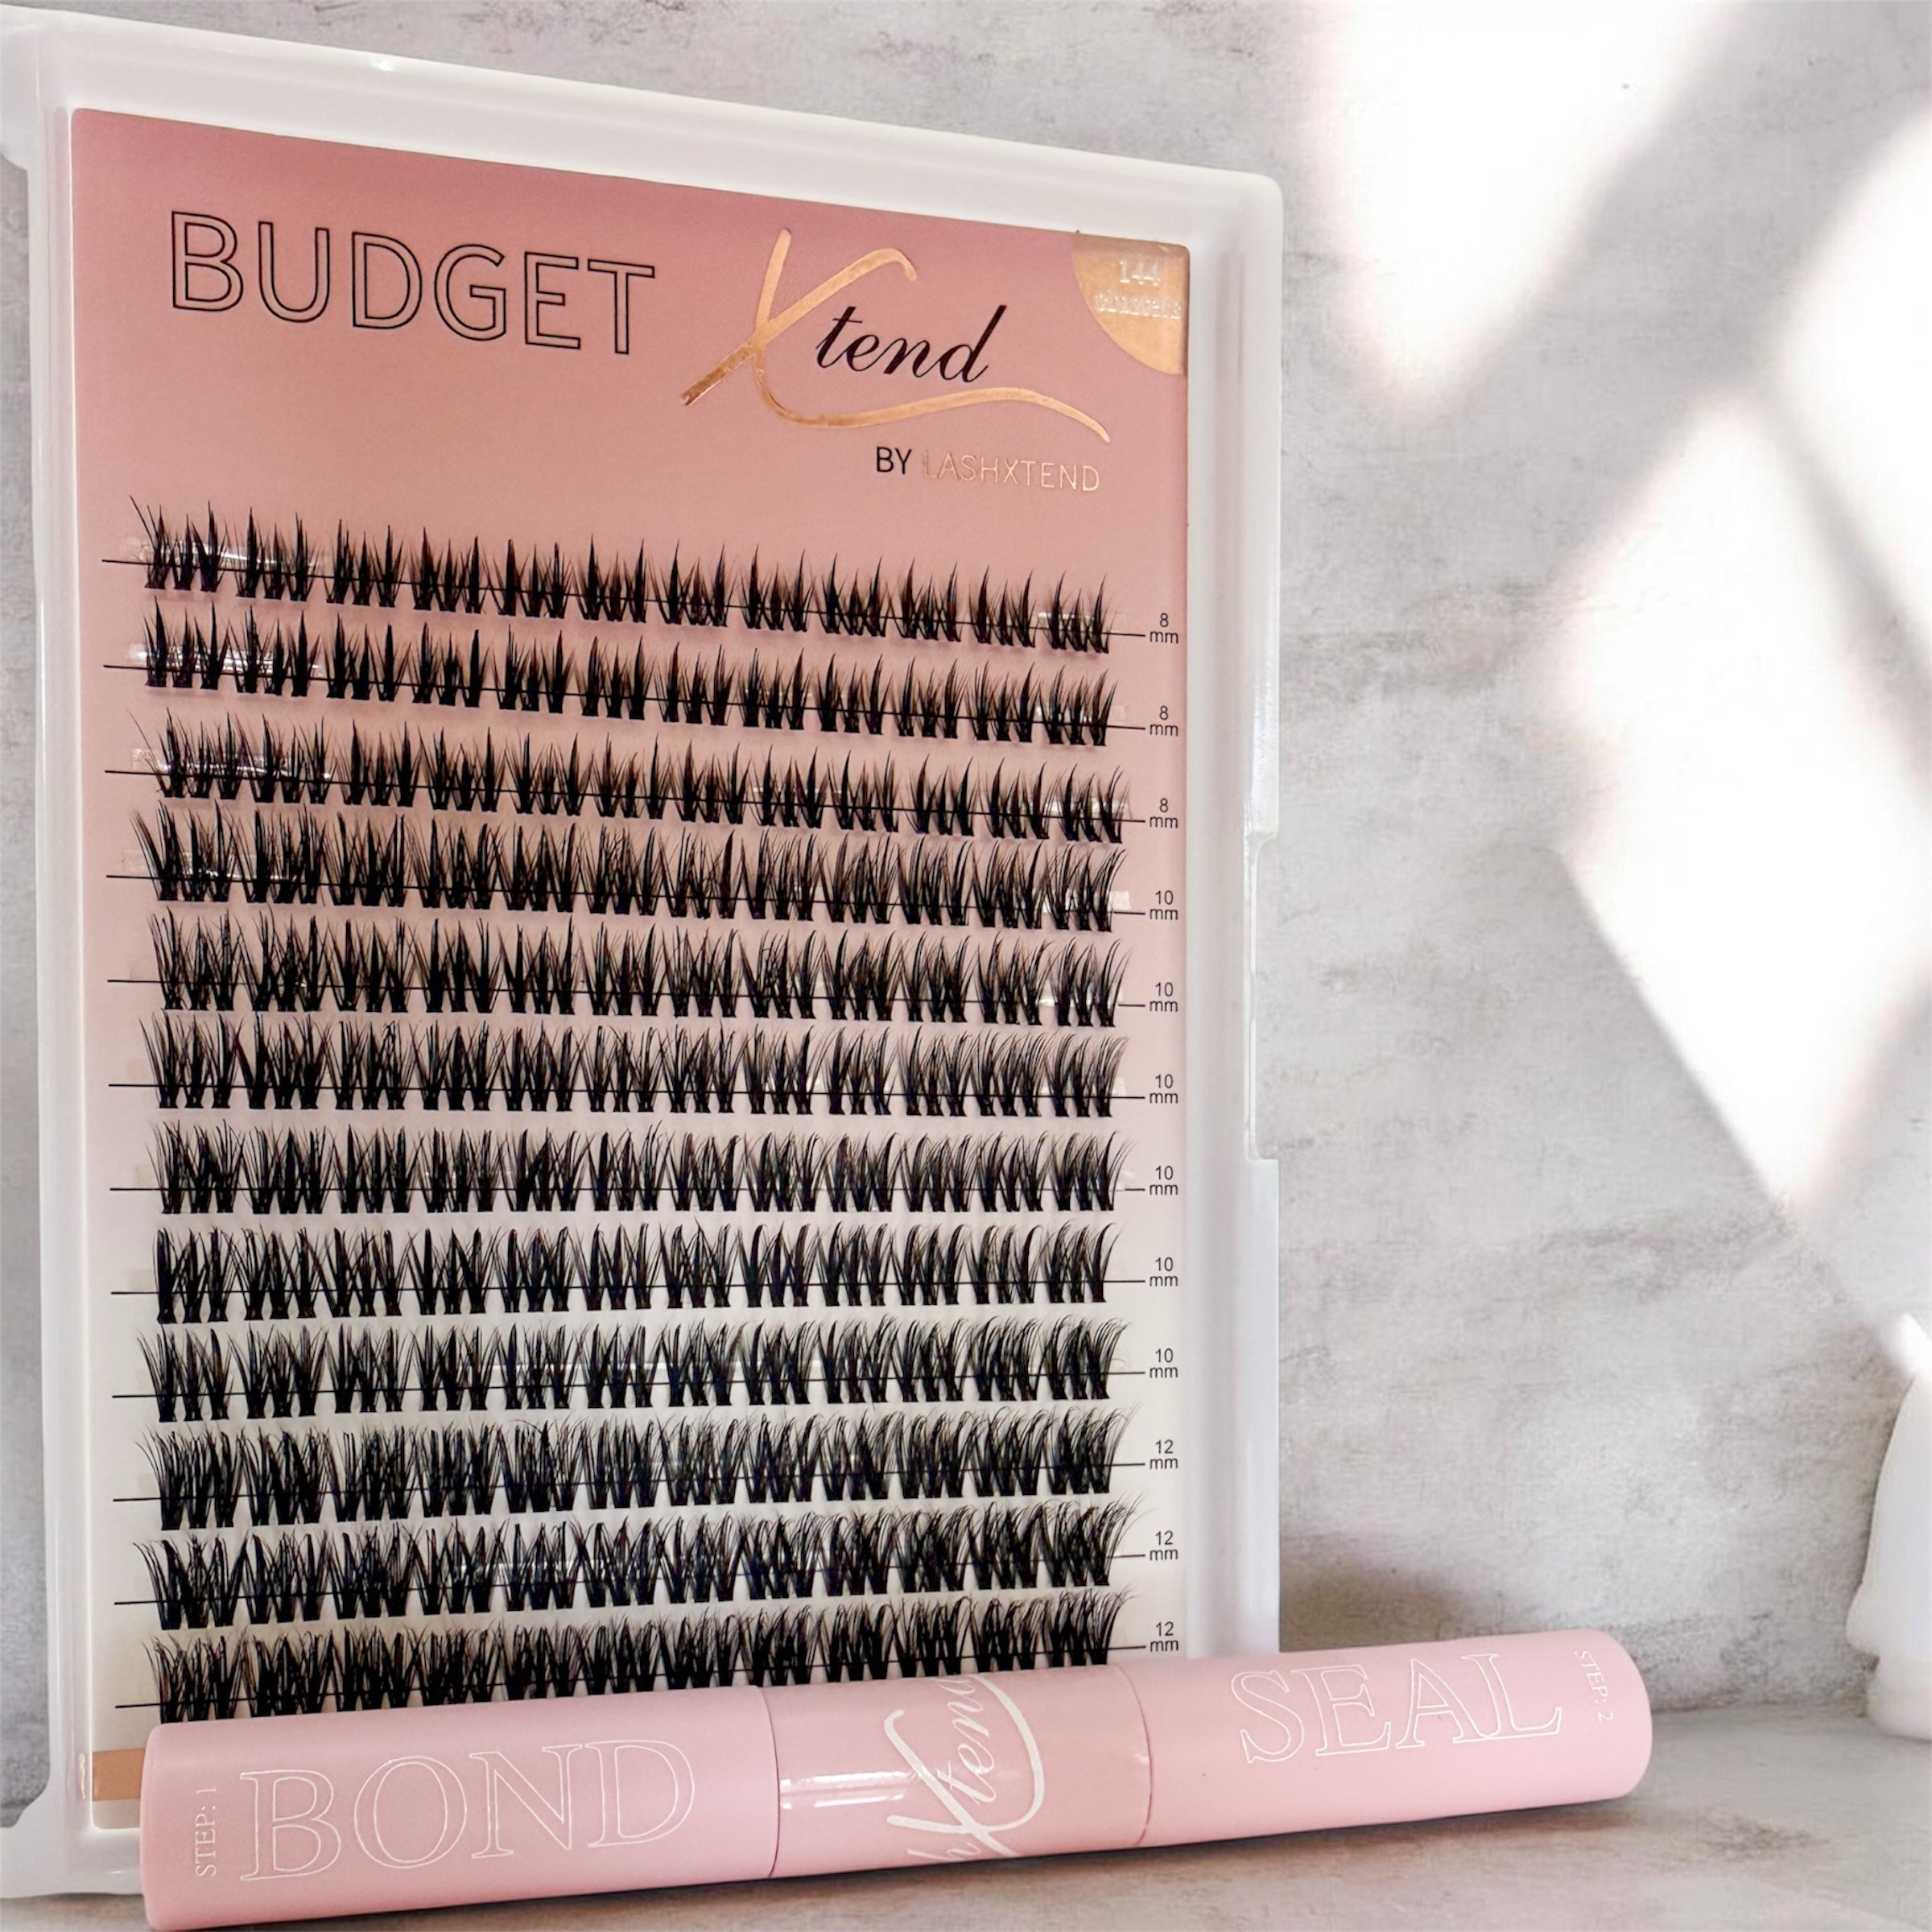

Sale priceR200.00Regular price
R300.00
Join The Lash Revolution
Revolutionise Your Lash Game Forever. Get ready to be amazed and fall in love with your eyes all over again.
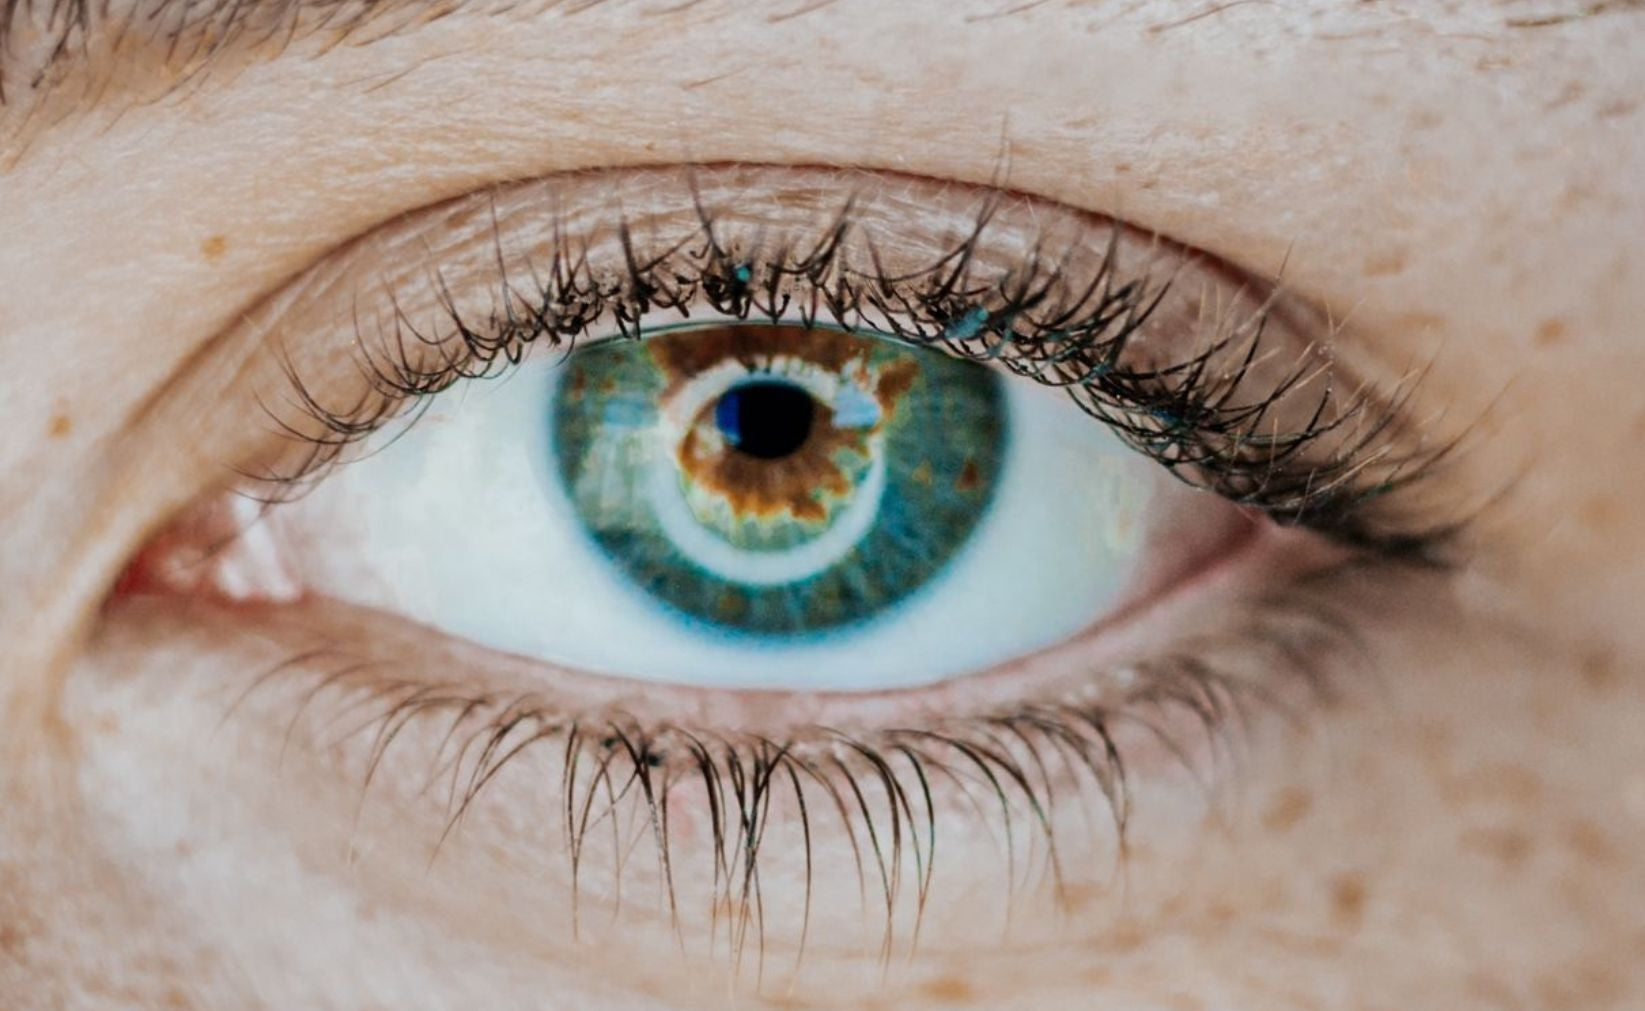
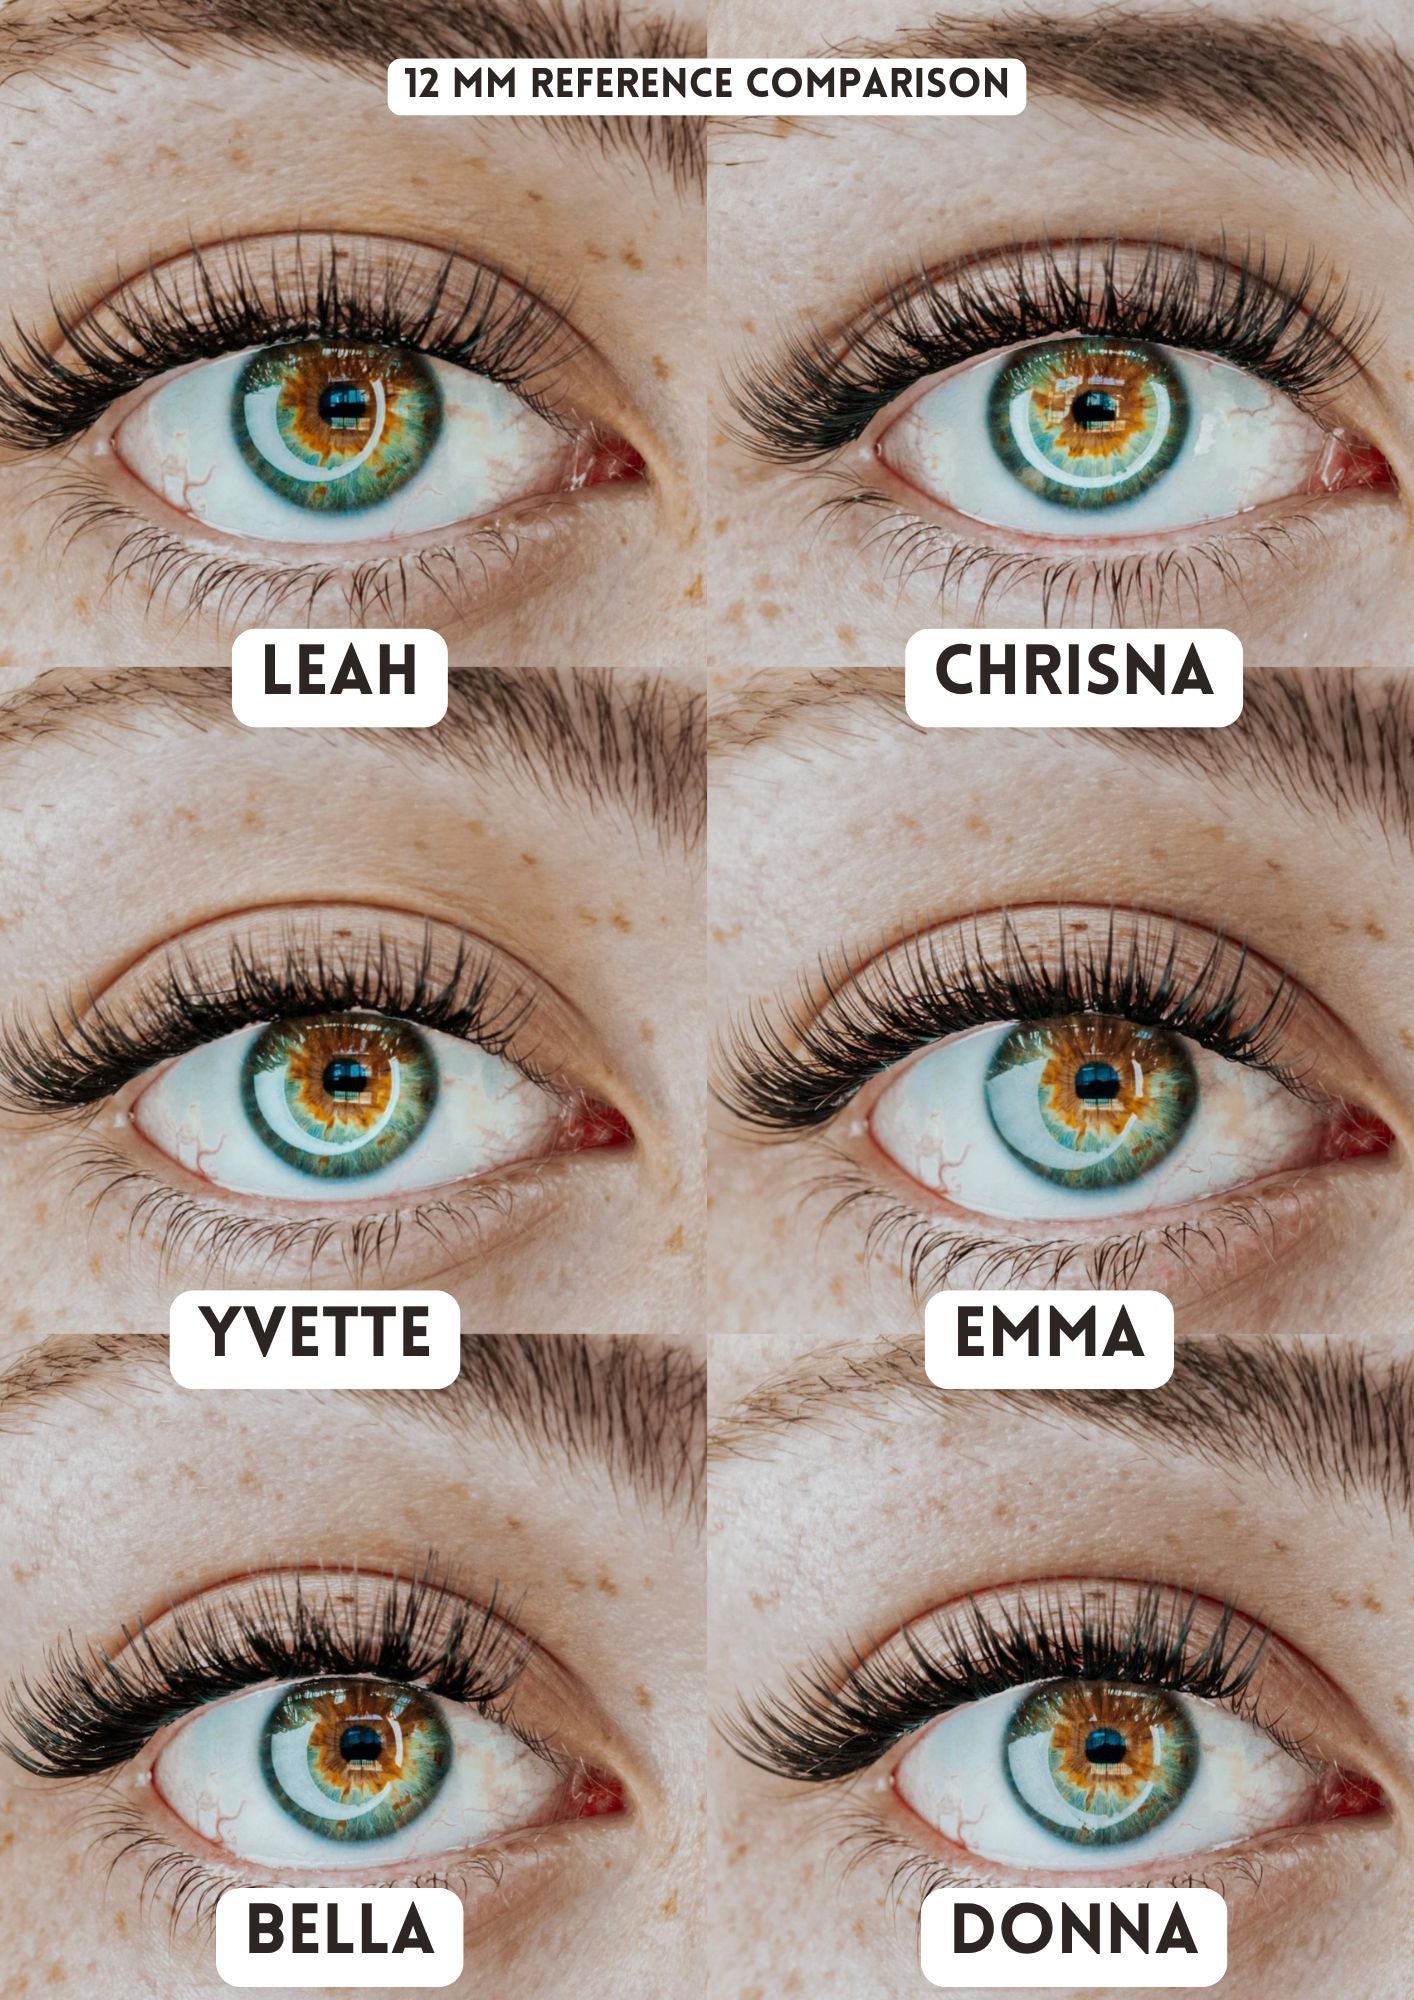
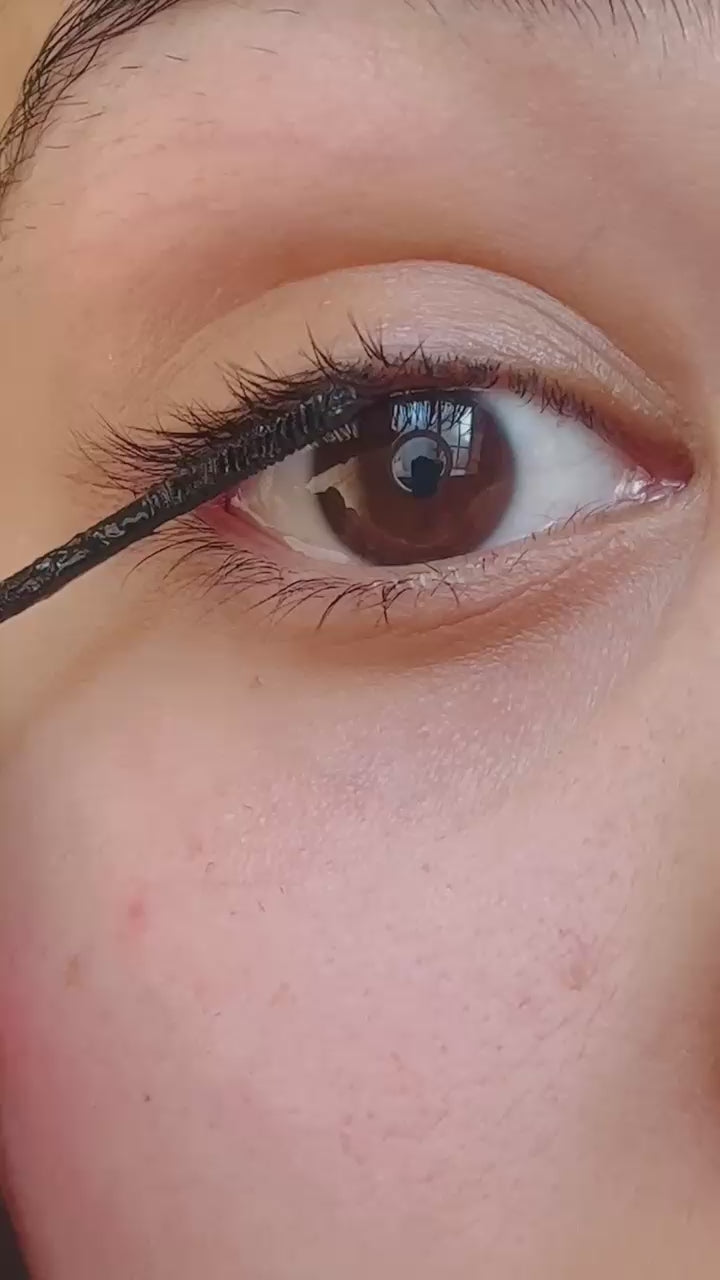
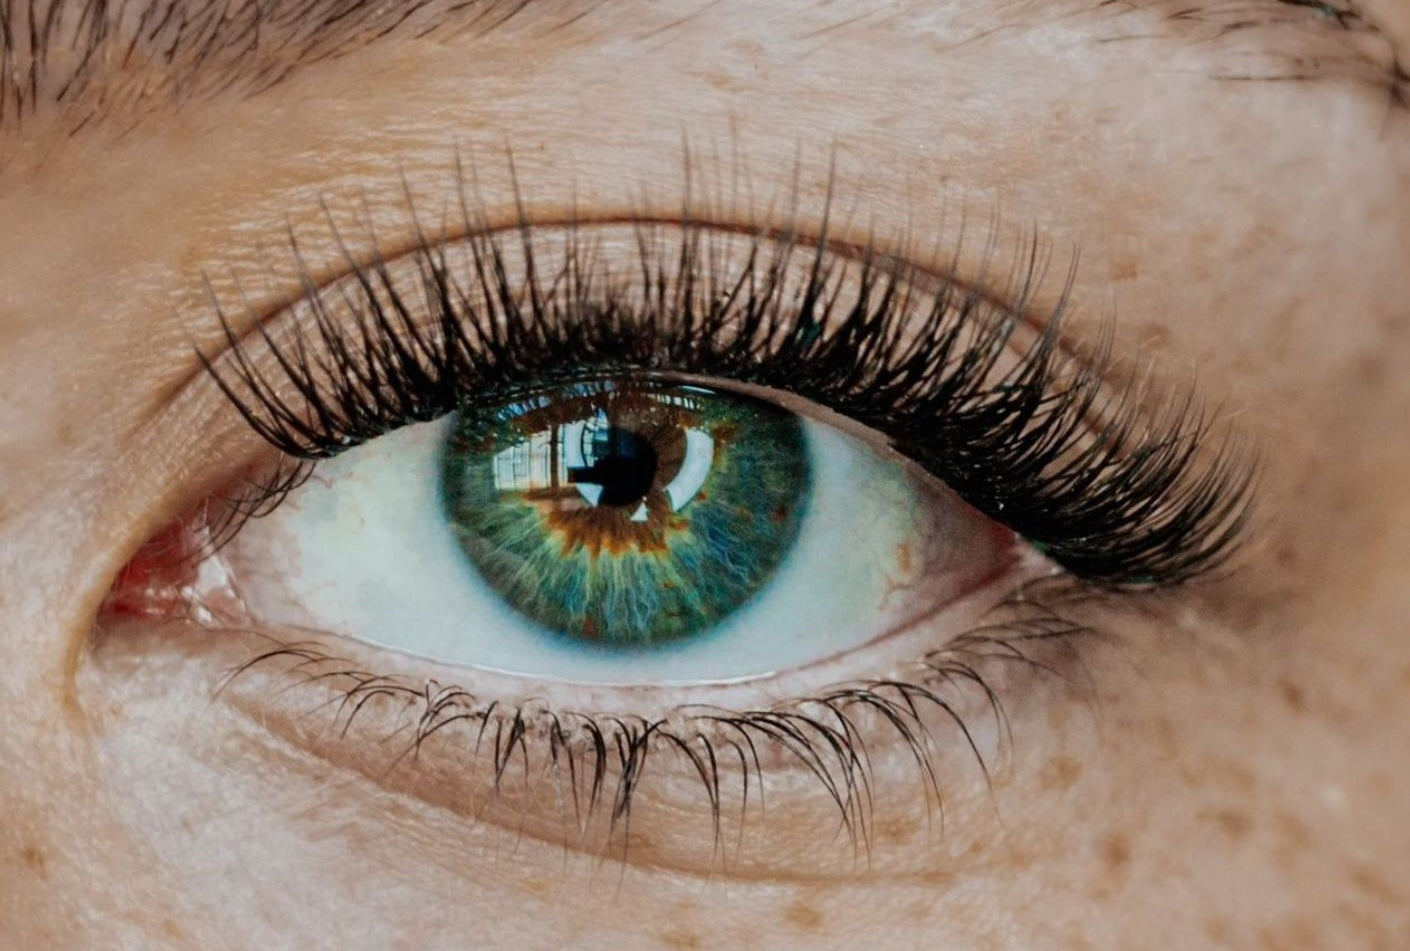
Intensify Your Look
Before
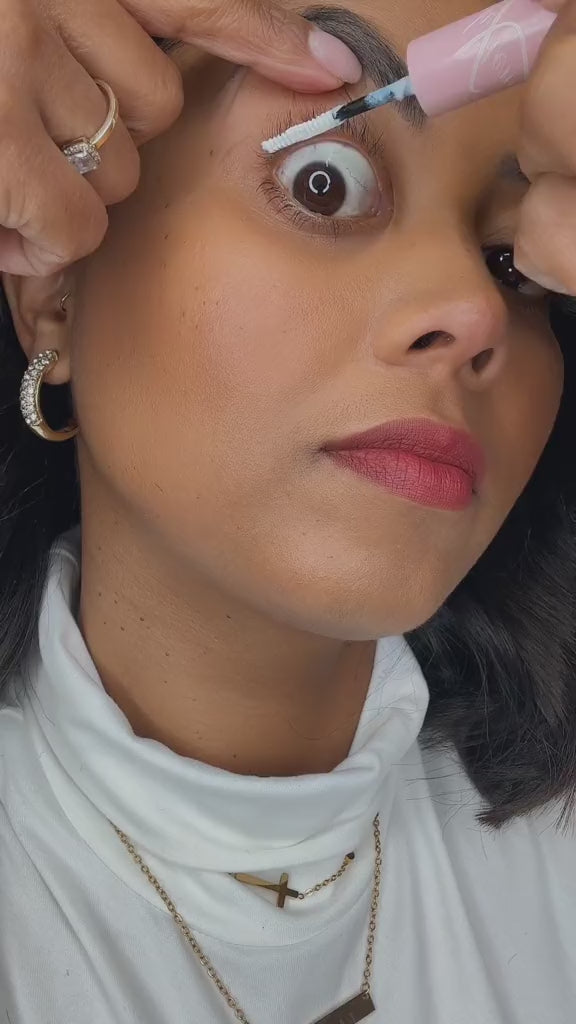
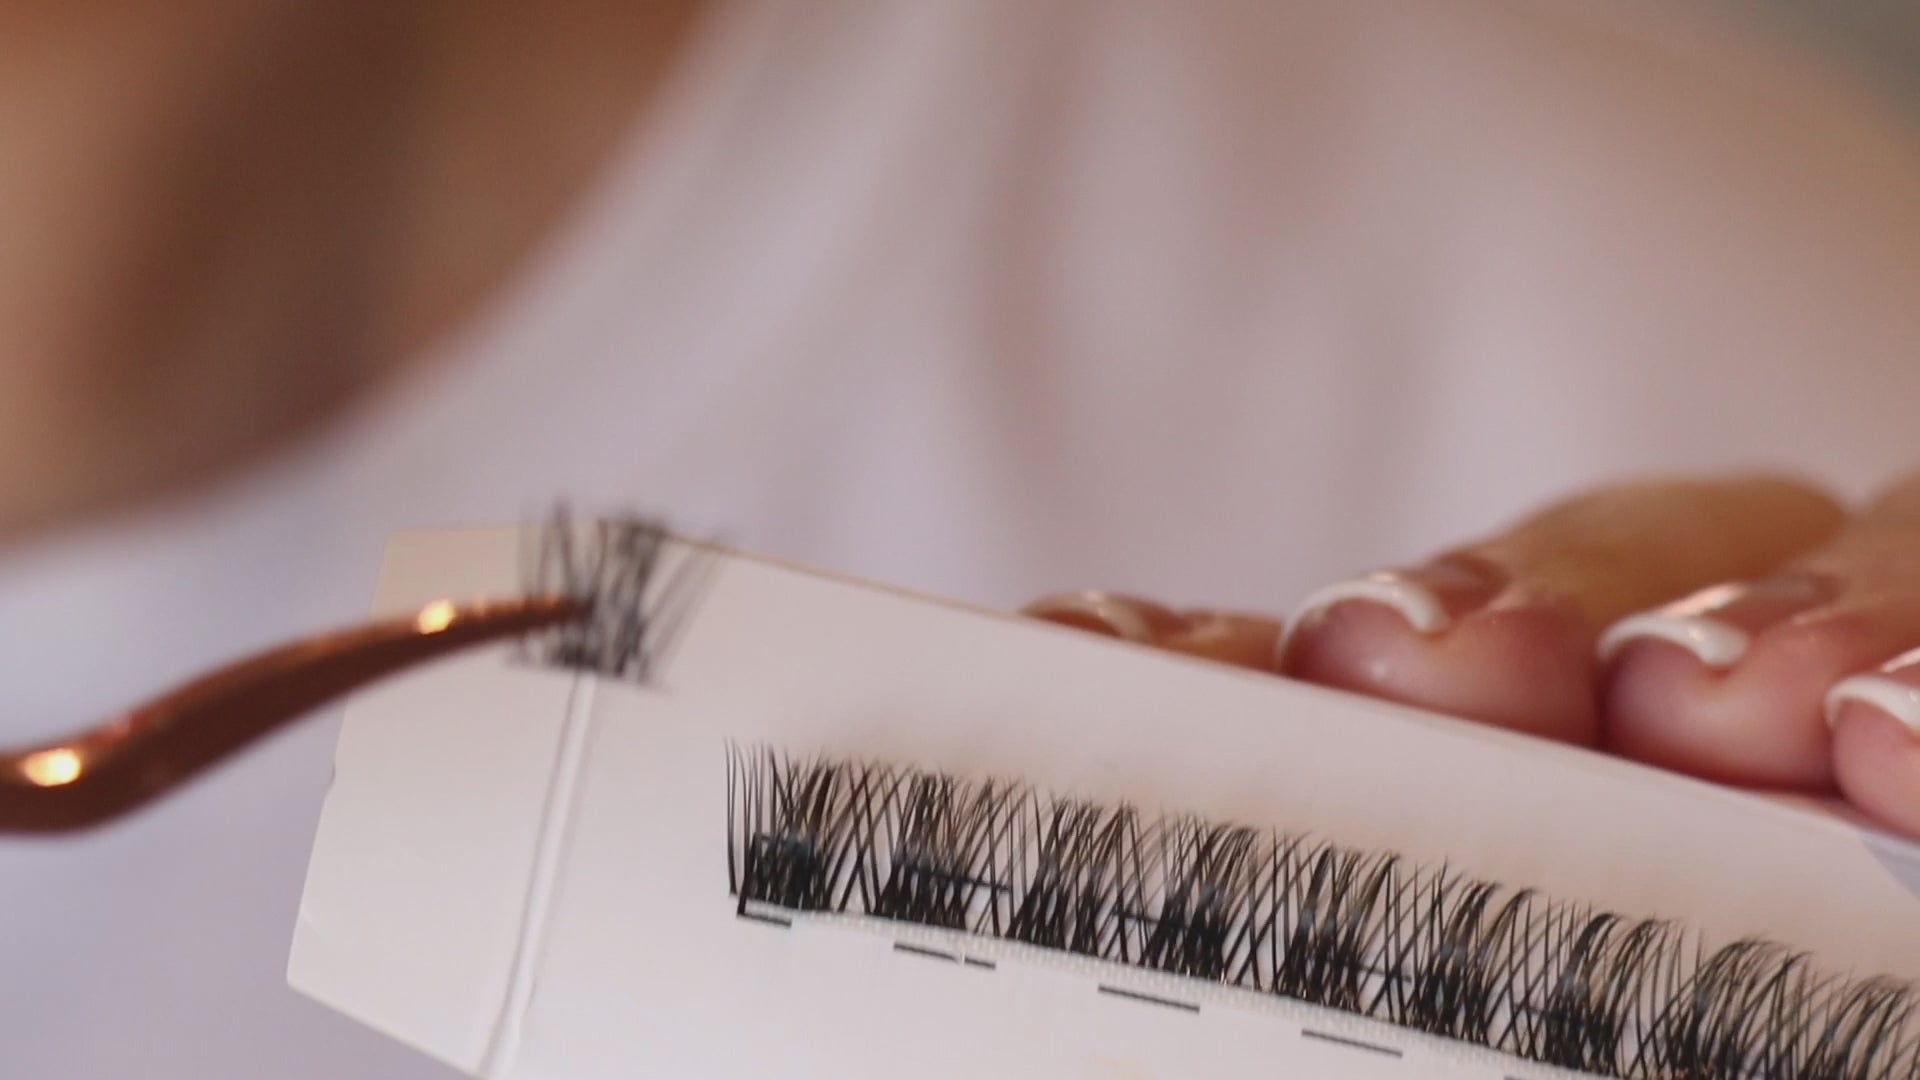
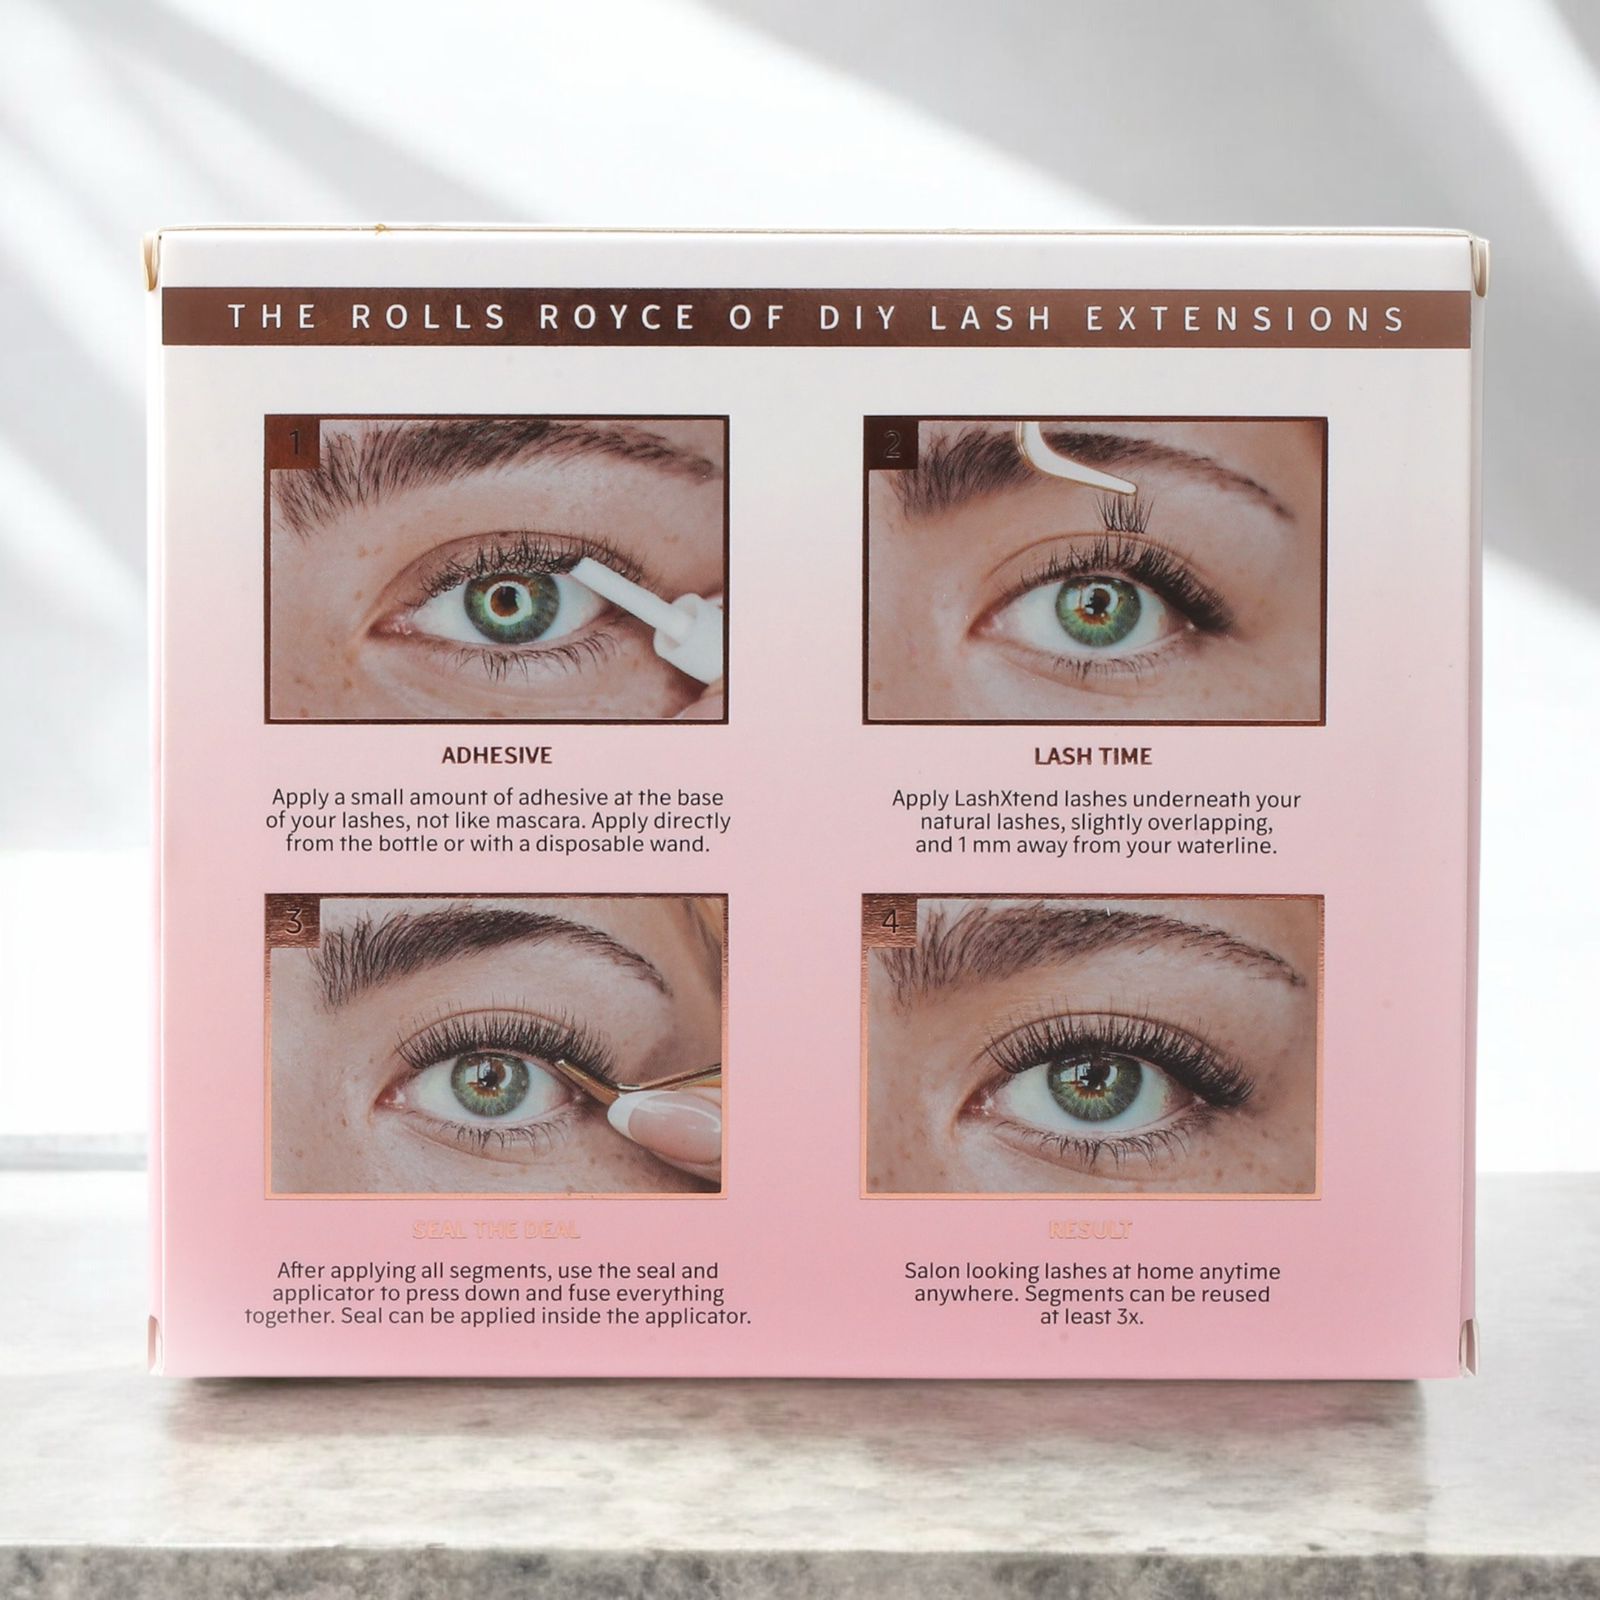
DIY In Seconds
After


